How I use Google Photos’ editing tools to make my pictures pop without looking fake
Affiliate links on Android Authority may earn us a commission. Learn more. My main reason for paying for a Google One plan is Google Photos — and no, I’m not talking about the extra storage space you get for media. Sure, having ample storage is a solid perk, but I’m very fond of
Affiliate links on Android Authority may earn us a commission. Learn more.
My main reason for paying for a Google One plan is Google Photos — and no, I’m not talking about the extra storage space you get for media. Sure, having ample storage is a solid perk, but I’m very fond of the interesting AI-enabled smart tools Google One unlocks in Photos. Its easy-to-use interface and accessibility are why it has become my default photo management tool on both Android and iPhone.
Whenever I have to tinker with an image before posting it on Instagram, I instinctively fire up Google Photos and get to work with its plethora of AI- and manual-editing tools. Over the years, I’ve found a workflow that helps make my photos Instagram-ready without that overprocessed look. And here I am to spill all my secrets.
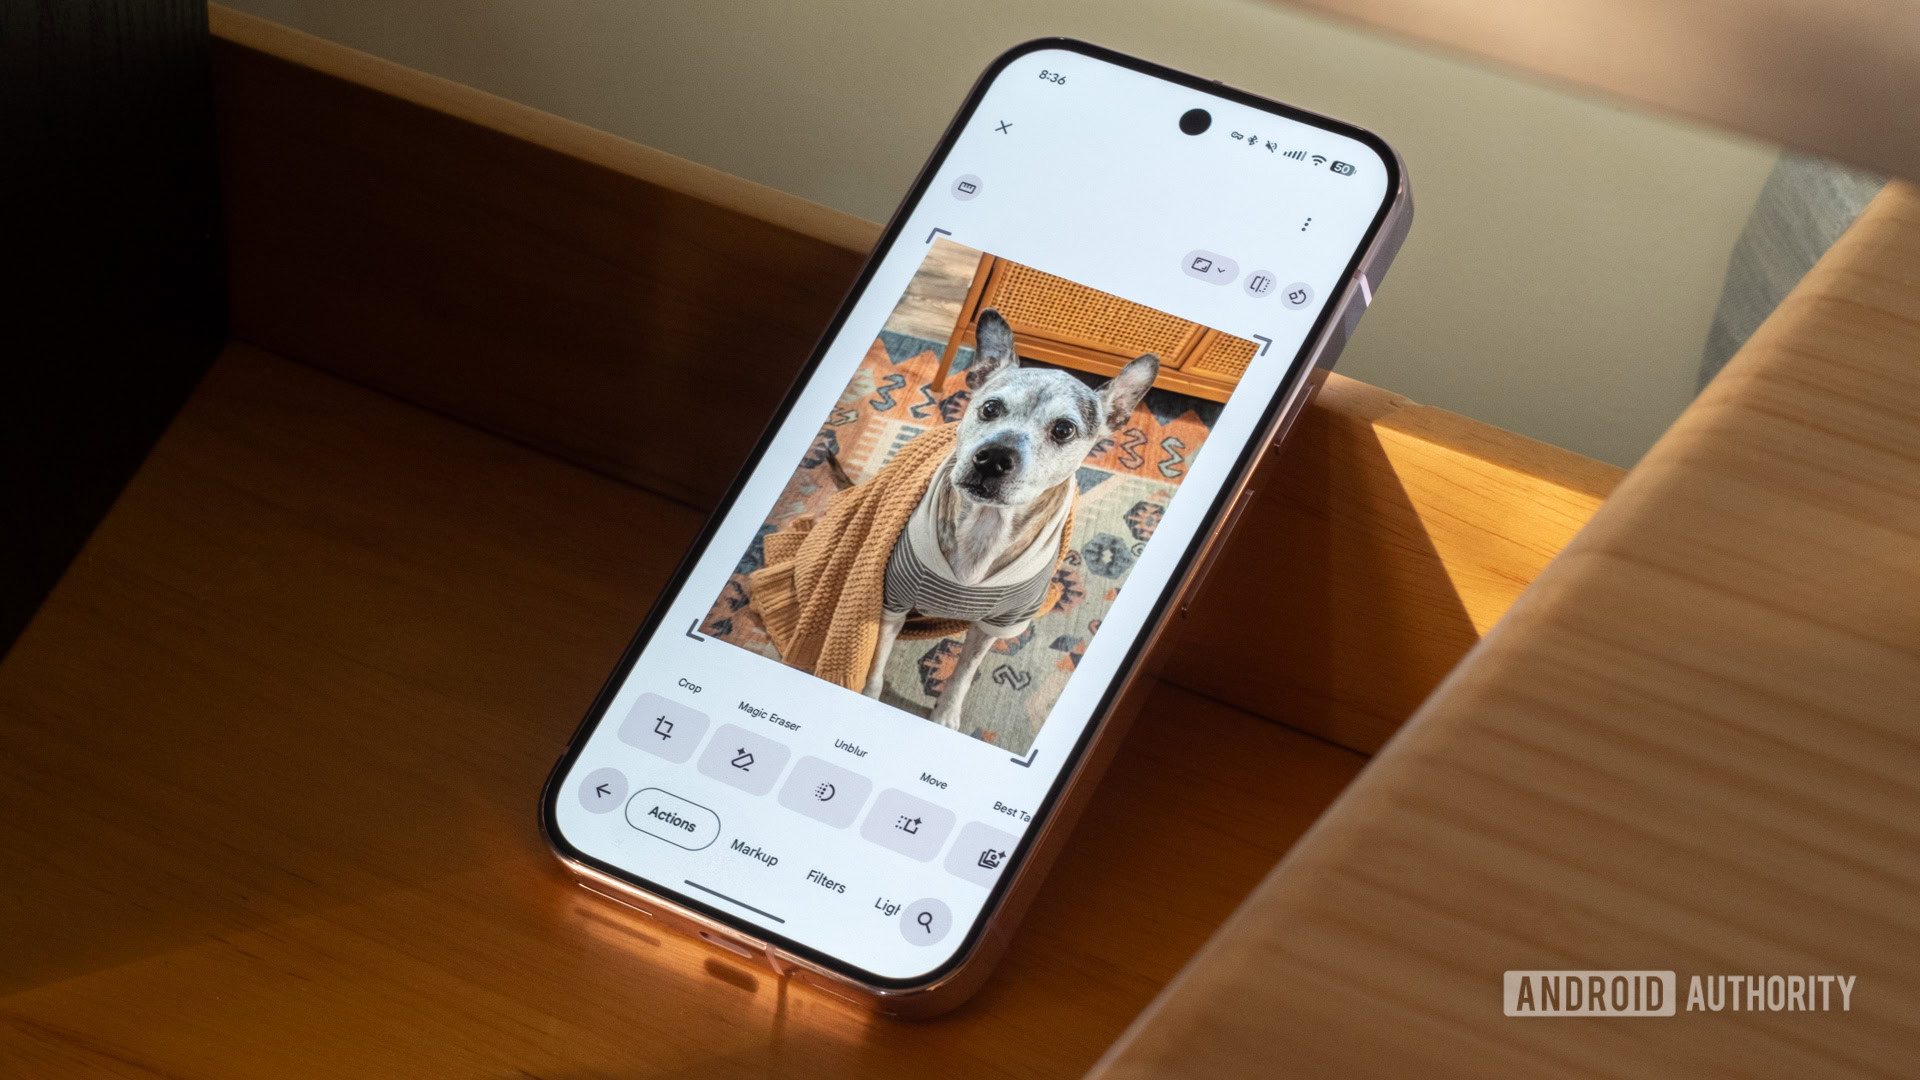
My first tip is an obvious one: use Google Photos’ AI tools. I’m not talking about the newer Ask Photos features that let you literally ask the app to edit images on your behalf. Instead, I’m talking about the good old Enhance and Dynamic tools that sit right there on the first screen after you tap the Edit button. They’ve been around for as long as I can remember, and the duo offers a great starting point if you don’t know exactly what you want the final image to look like.
I use Dynamic, especially on photos that come out a little dim. It boosts the overall brightness quite a bit, so it isn’t always suitable for images that are already bright enough. Enhance sits somewhere in the middle. It doesn’t forcibly brighten shadows or darker areas, which helps keep the image looking natural.
There are plenty of days when I find neither tool particularly useful, but either way, I usually jump into manual editing right after — though not before fiddling with Google Photos’ actual generative AI capabilities a bit.
Photo editing actually starts before you even click the photo. You try to get the exposure right, frame your subject properly, find good lighting, set the scene, and then — just as you hit the shutter button — someone photobombs your otherwise perfect shot.
Previously, I would get annoyed and try to recreate the moment without the disturbance. But Google Photos has helped me chill out a bit around these situations now. I know in the back of my mind that I can cleanly (mostly) remove any little thing that I don’t want in the frame.